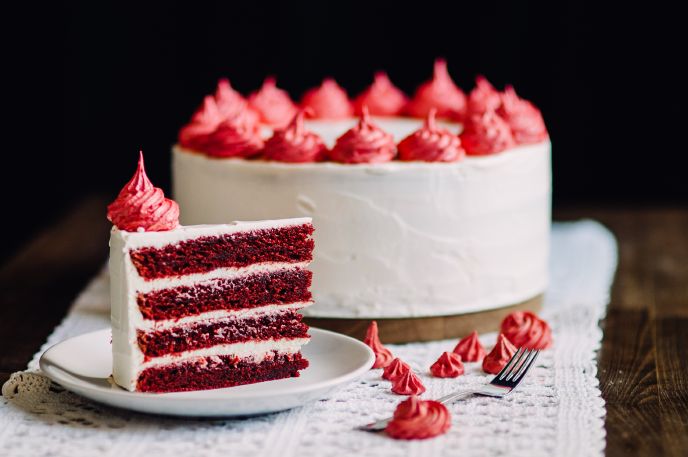
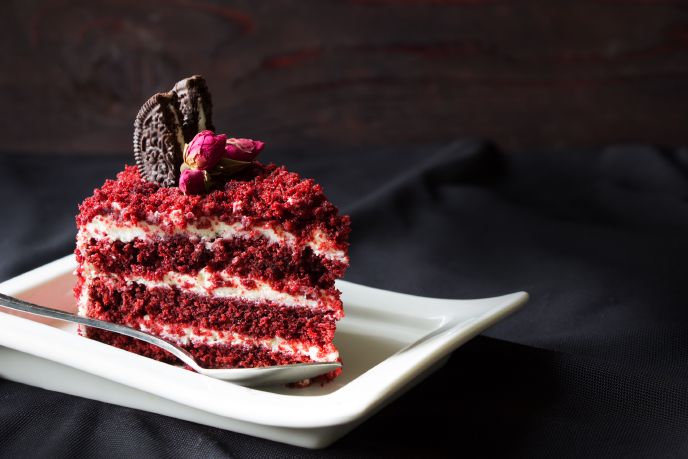
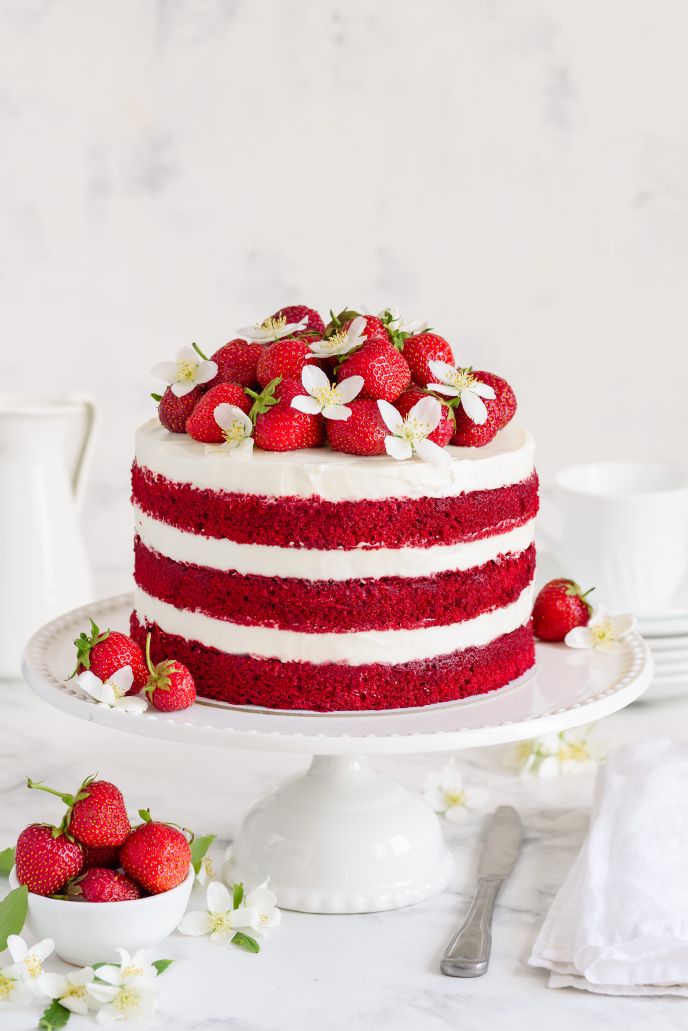
Soft, flavorful, and super vibrant, you really can’t go wrong with this easy red velvet cake recipe!
If you’ve been wanting to try red velvet cake but held off because you’ve heard it can be tricky, don’t worry; you’re in the right place!
Read on for some tips and tricks to making the perfect red velvet cake from scratch and a bonus cream cheese frosting recipe!

To make an Easy Red Velvet Cake Recipe, you’ll need cake flour, butter, oil, eggs, sugar, and unsweetened cocoa. It should also have buttermilk for a perfectly moist crumb, along with baking soda and extra white vinegar to ensure a nice rise. Once baked and cooled, cover with cream cheese frosting.
How to Make an Easy Red Velvet Cake
I promise this cake is a cinch to make! All you have to do is follow the steps and mix everything in the proper order:
- Begin with room temperature ingredients.
- Start by sifting all of your dry ingredients.
- Cream the butter and sugar in a separate bowl.
- Incorporate the eggs, oil, vinegar, vanilla, and food coloring.
- Alternate adding the dry and the buttermilk.
- Bake for 25-35 minutes.
Do that, and you’ll have one incredibly rich and tender cake.
1. Begin With Room Temperature Ingredients
I can’t overstate how big of a difference this makes in baking but always begin with room-temperature ingredients.
You want everything sitting on the counter for around 30 minutes before you start mixing.
2. Start by Sifting All of Your Dry Ingredients
Once everything is warmed up, you’ll need to sift all of the dry ingredients.
I like to place my sifter over a large bowl before adding both to a scale. Then, tare the scale to zero with the bowl and the sifter so you can weigh right into the sifter.
Add the flour, baking soda, cocoa powder, and salt, and gently sift into the bowl. Doing it this way will also ensure the baking soda and salt are evenly distributed.
3. Cream the Butter and Sugar in a Separate Bowl
Next, you’ll need to cream the butter and sugar in a separate bowl before beating in the rest of the wet ingredients.
This recipe uses butter and oil to ensure it’s super-rich, perfectly moist, and as flavorful as possible.
4. Incorporate the Eggs, Oil, Vinegar, Vanilla, and Food Coloring
When the butter and sugar are light and fluffy, incorporate the eggs, oil, vinegar, vanilla, and food coloring.
Add the eggs first, one at a time, mixing them each fully before moving on.
Add the food coloring before the rest so you can see if you need to add more. It should be very vibrant as it will lose some of its color in the oven.
5. Alternate Adding the Dry and the Buttermilk
Start by adding in about 1/3 of the dry mix and folding until mostly blended in. Next, add around 1/2 of the buttermilk, again folding until it’s mostly blended.
Repeat this until you don’t have any left. Ideally, you want to start and end with the dry ingredients and always stop mixing as soon as the flour streaks are incorporated.
6. Bake for 25–35 Minutes
Each oven will vary, but you should be baking these for around 25-35 minutes in general.
My oven will bake a batch of cupcakes at around 18, and these cakes take right on 30 minutes.
If your oven needs a little longer to bake cupcakes, you may need to go to 35 minutes.
Check them by inserting a toothpick into the center. If it comes away clean, they’re ready to come out. If it has wet batter on the surface, leave them in for five more minutes and check again.
What Makes Red Velvet Cake Different to Chocolate Cake?
I know you’ve seen it before and I’m sure you’ve tried it once or twice, but what is red velvet cake?
So yes, red velvet cake is more or less chocolate cake with food coloring.
BUT, not really.
One bite, and you’ll know this very much is NOT chocolate cake. Instead, it’s light, tangy, sweet, rich, and very, very moist.
The best way to describe it is a happy cross between vanilla and chocolate cake.
Back in the day, red velvet cake was made with cocoa powder that wasn’t alkalized. When that reacted with the vinegar and baking soda, it made the cake look slightly red.
Unlike standard chocolate cakes, red velvet only uses a little bit of cocoa powder, making the flavor very mild but still very rich.
The main difference between red velvet and chocolate cake is that red velvet is more tender with a finer crumb. Also, where chocolate cake is made with chocolate and cocoa, and sometimes coffee to enhance the flavor, red velvet has buttermilk and cream cheese frosting for a richer, tangier taste.

What Can Go Wrong When Making Red Velvet Cake?
You can’t deny how fantastic it looks, especially against that silky smooth cream cheese frosting! But have you ever tried out a red velvet cake from scratch only to be disappointed?
So, what can go wrong when making red velvet cake?
1. Using the Wrong Kind of Cocoa Powder
Well, for one thing, you could use the wrong kind of cocoa powder. I love this Callebaut - 100% Pure Cocoa Powder, which is alkalized, or Dutched.
To keep it simple, this kind of cocoa is richer, has a more mellow flavor while still being super chocolatey, and is darker in color, making your cakes and desserts wonderfully intense.
If you have the right cocoa, you’re halfway there!
2. Using the Wrong Kind of Food Coloring
Another issue people sometimes face is with the red food coloring. If you use the liquid kind, it will actually water down your batter, affecting the cake crumb once it’s baked.
When buying food coloring for baking - be it for cakes or icing - always choose the gel kind. This Wilton 8 Gel Icing Colour Set is a great, inexpensive option and will last you a while - a little goes a long way with this stuff!
3. Using the Wrong Temperature Ingredients
One last thing: always start with room temperature ingredients.
This doesn’t mean the butter should be soft like whipped cream. It means you should be able to gently press the surface and leave a slight indentation.
Forgot to pull your eggs? Just put them into a pitcher with warm water for 5-10 minutes before cracking them open.
A good rule of thumb is to leave your ingredients on the counter for 20-30 minutes for them to be at room temperature.
How To Make Red Velvet Cake From Scratch
Ok, so what goes into a red velvet cake recipe?
- Cake Flour - all-purpose would work, too
- Unsweetened Dutch Cocoa Powder - don’t use anything sweetened, like you would make hot chocolate out of
- Baking Soda
- Salt
- Butter - softened is a must, or it won’t blend will
- White Sugar
- Eggs
- Oil - any neutral-flavored oil will work
- Vanilla
- White Vinegar
- Buttermilk
- Red Food Coloring - be sure it’s the gel kind
Method:
This recipe is perfect for two 9-inch cake pans, and it should give you 16-20 slices.
- Preheat the oven to 350°F/177°C.
- Grease and line two 9-inch cake pans with oil/cooking spray and parchment paper.
- Sift the flour, cocoa powder, baking soda, and salt into a large bowl. Whisk slightly and set aside.
- In the bowl of a stand mixer, or with a handheld mixer with the whisk attachments, cream the softened butter with the sugar until light and fluffy - 4-5 minutes.
- Add the eggs one at a time, incorporating fully after each.
- Scrape the sides of the bowl before adding the oil, food coloring, vinegar, and vanilla. Mix until fully incorporated, scraping the sides again if needed.
- Alternating with the buttermilk, add the dry in 3-4 additions, mixing gently into the wet ingredients. Fold the batter, do not whisk, and stop mixing as soon as you can’t see any streaks of flour.
- Pour the batter evenly between the two baking pans and place in the oven for 25-35 minutes - times will vary with each oven.
- Check after 25 minutes by gently pressing the center of the cake. If it springs back, it’s ready. If not, bake in 5-minute intervals until a toothpick inserted in the middle comes out clean.
- Remove the pans from the oven and leave them to cool on a wire rack for 15 minutes before turning out to cool fully.

Cream Cheese Frosting Recipe
The only way to serve red velvet cake (in my opinion) is with bright, tangy cream cheese frosting.
This recipe is super simple and great on everything from brownies to cinnamon rolls. Here’s what you’ll need:
- 340 grams (12 oz) Softened Cream Cheese
- 175 grams (3/4 cup) Softened Butter
- 360 grams (3 cups) Powdered Sugar
- 1 - 1/2 teaspoons Vanilla Extract/Paste
Method:
- In a stand mixer with the paddle attachment - or on low with a handheld mixer and whisk attachments - beat the cream cheese until completely smooth.
- Add butter to cream cheese and beat until incorporated and fluffy.
- Scrape the sides and beat again to ensure everything is smooth and lump-free.
- Add the vanilla and powdered sugar, mixing on low until most of the sugar is blended, then turn up to mix on medium-high for a few minutes.
Red Velvet Cake
Ingredients:
- 295 grams (2 - 2/3 cups) Cake Flour
- 22 grams (1/4 cup) Unsweetened Cocoa Powder
- 1 teaspoon Baking Soda
- 1/2 teaspoon Salt
- 115 grams (1/2 cup) Softened Butter
- 350 grams (1 - 3/4 cups) White Sugar
- 2 Eggs
- 120 ml (1/2 cup) Vegetable Oil
- 2 teaspoons Vanilla Extract/Paste
- 1 teaspoon White Vinegar
- 320 ml (1 - 1/3 cups) Buttermilk
- Approx. 1oz Red Food Coloring
- 1 recipe Cream Cheese Frosting
Method:
- Preheat your oven to 350°F/177°C.
- Grease and line two 9-inch cake pans with oil/cooking spray and parchment paper.
- Sift the flour, cocoa powder, baking soda, and salt into a large bowl. Whisk slightly and set aside.
- In the bowl of your stand mixer, or with a handheld mixer with the whisk attachments, cream the softened butter with the sugar until light and fluffy - 4-5 minutes.
- Add the eggs one at a time, incorporating fully after each.
- Scrape the sides of the bowl before adding the oil, food coloring, vinegar, and vanilla. Mix until fully incorporated, scraping the sides again if needed.
- Alternating with the buttermilk, add the dry in 3-4 additions, mixing gently into the wet ingredients. Fold the batter, do not whisk, and stop mixing as soon as you can’t see any streaks of flour.
- Pour the batter evenly between the two baking pans and place in the oven for 25-35 minutes - times will vary with each oven.
- Check after 25 minutes by gently pressing the center of the cake. If it springs back, it’s ready. If not, bake in 5-minute intervals until a toothpick inserted in the middle comes out clean.
- Remove the pans from the oven and leave them to cool on a wire rack for 15 minutes before turning out to cool fully.
- When cool, decorate with the cream cheese frosting and enjoy!
